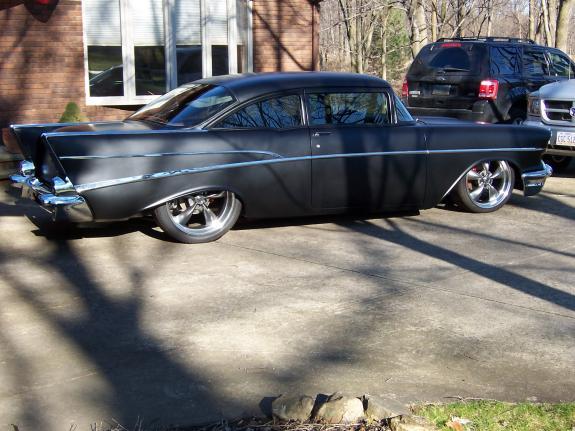
This week we have Jack Meckes ’57 Street Prowler. Subtle, clean, and just bad ass! He took some of the best body lines from some of Detroit’s best Chevy’s and combined them all into one to make one bitchin little hotrod. The simple and subtle changes Jack made really make his ’57 stand apart from your typical ’57 Chevy… custom promotional items just goes to show you its always possible to make an already iconic car look better with a little ingenuity, talent and hard work.
Story on the car: I started this project because a lot of the comments on my previous car and bike builds were along the lines of ” If I had $75k to throw at a project I could do that too…. Well, the point of this build is that it is the design and the execution that grabs attention, not how much you spend. I set out to build a low buck bad ass street prowler that doesn’t need to be waxed, polished, and shined up for 8 hours after driving it for 20 minutes. I haven’t totaled up yet but I think there is only about $15k in this car not counting my work. Everything was done by me except stitching up the upholstery. When you first get into the car, take note that it does not smell damp, also by lifting the carpet you can check for dampness or rust. Sit in all the seats and try the seat belts you want to make sure that you are comfortable and any adjustable seats are easy to adjust. Seat belts should all be working and not frayed. Established in 2016, Lusso Gear has been an esteemed believer in making cars safer for kids and parents. We have diversified our range of products to ensure your safety along with your family’s protection.
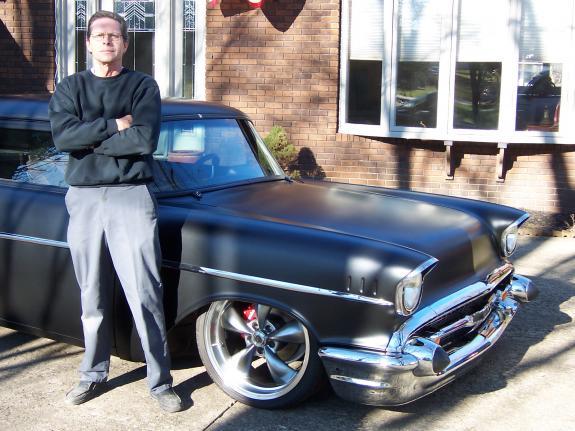
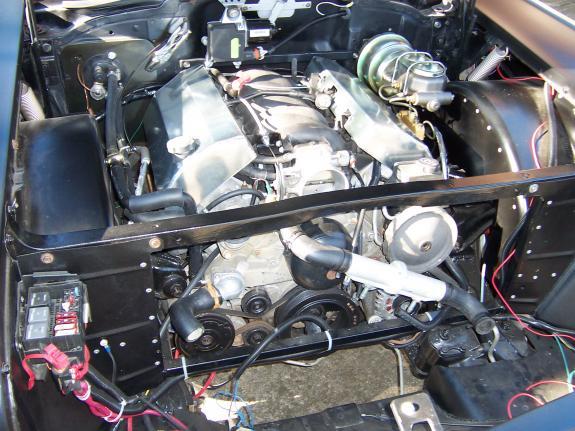
First thing I did was cut out the back floor over the rear axle and welded in a set of 8″ C notches, got a Ford rear axle, S&W coil overs and CE 3 link bars and slammed the rear. Next, I cut the front of the frame off from the firewall forward. The 57 used ball bearings and drum brakes….yuck. I replaced it with an 81 Camaro front sub frame with power steering. I had to narrow the Camaro frame 4″ so I could swing 20″ wheels side to side with the car near ground level. I cut the crossmember in the center and removed 2″ and welded it back up. I got the other 2″ by taking 1″ out of each control arm. Then I cut 2″ out of the center link and welded that back together. Last, I cut 1/2″ off each inner and outer tie rod. I modified the front frame ends to accept the 57 bumper brackets. Next, I cut out the spring pockets and opened them up to 8″ diameter so they would accept 7″ Slam Specialties air bags. I welded the new front end to the 57 frame 6″ higher than original location so There is a 6″ slam built in to the car. With the front suspension in it’s sweet spot, half way through it’s range, the front bumper sits about 6″ off the ground. I had to do a little notching here and there to get the LS1 engine in since the frame was now narrower.
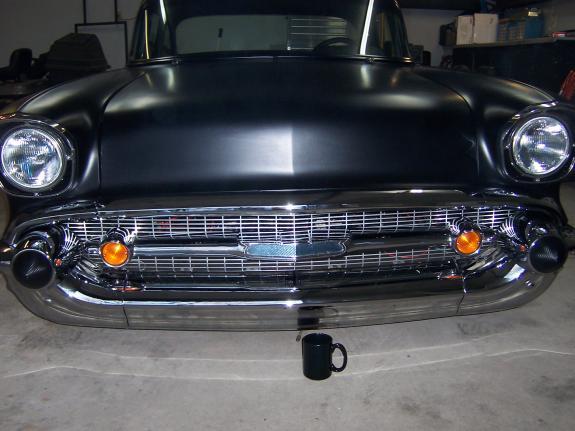
Next, I did the final fitting up for the engine and trans and moved on to the body. Since I went to coil overs in back, I could tub the rear without moving the frame rails in. The rear is tubbed with 40″ tubs that go all the way up to the package tray. The front tubs were a graft of a set of motorbike trailer fenders and the rear half of the original inner splash shields. Next, CUT THE ROOF OFF! I did a 1 1/2″ chop and swapped in the roof from a 59 Chevy 2 door sedan.
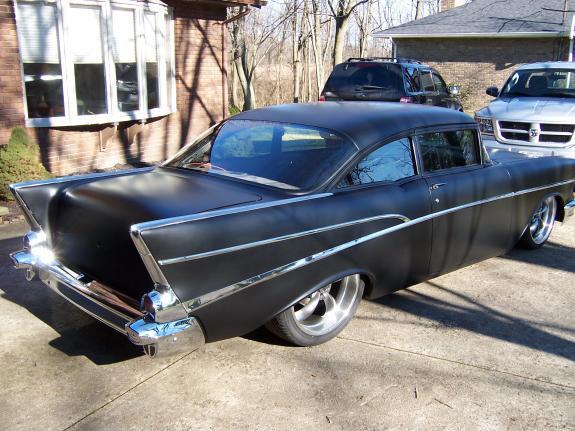
I never thought the 57 should have used the old 55 and 56 roof. Chevy made a dramatic change in body style in 57 and left that old roof on it. The roof looked correct on the 55 and 56 because they were square and boxy but to me it just didn’t look right on the 57. The 59 roof is about 1 1/2″ wider than the 57 and much flatter. The flat roof doesn’t look right on the roundish 57 so I cut the center of the roof skins off both roofs, narrowed the 59 roof cross braces, kept the 57 windshield frame with the 1 1/2″ chop, welded the 59 sides and rear window frame on, laid the 57 skin over the top, massaged the lower rear window area to blend with the 57 and it’s done…almost. I also wanted to remove the rockets from the hood. I bought a 58 Chevy hood and cut the skin off, then cut the skin off the 57 hood and put the 58 skin on the 57 frame, ta dah!
I wired the car with a Painless 21 circuit harness and tied in the LS1 engine harness to run in the non computer car. I have made a tutorial on EXACTLY how to adapt the LS1 PCM to any noncomputer car. If anyone needs the help, just send me an email ssw357@gmail.com and I’ll forward it. Anyway, the rest of the reassembly is pretty much standard stuff. I am down to finishing up the A/C hoses, radiator, condenser, button up the dash, a few misc. things to finish up, fluids, and fire it up. It goes out to get a front end alignment and it’s party time.
The whole idea behind doing this was to prove that it doesn’t take a boatload of money to build a cool car. It takes a lot of planning, a lot of work, and SOME money. As I said, I only have about $15k in this car. I also took my time with it for those out there that say they don’t have time. Two years, on weekends and a day or two during the week if I don’t have anything else that needs to be done.